View Control
The Action menu provides commands to overall aspects of the display.
Copying the Display to Clipboard
Click the Action menu and select Copy Display to Clipboard.
Note
This command copies the current display to the System Clipboard.
The clipboard content may be pasted to another application that accepts graphical images.
Resetting the Viewpoint
Click the Action menu and select Reset Viewpoint.
Note
This command changes the viewpoint so that all visible graphic objects can be seen in the display area.
Setting Size of Display Area
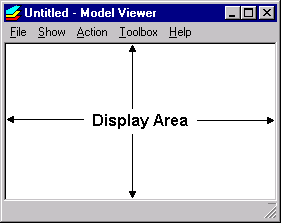
Click the Action menu and select Set Size of Display Area….
Specify the display area width and height in pixels.
Click OK.
Note
This command is useful for exporting a PNG file of a specific size.
Viewing From Preset Directions
The viewpoint may be set to view from one of six preset directions.
Click the Action menu, select View From Direction, and then select one of six options.
Note
For example, if you select the +x option, the viewpoint will be set to view from the +x axis direction towards the -x axis direction.
You may switch the viewpoint from one preset direction to the next by clicking View From Next Direction from the Action menu, or by holding down the Ctrl key and pressing the V key.
Perspective Versus Parallel Projection
In perspective projection, parallel lines appear to converge to a point at infinity. This is the default projection mode.
In parallel projection, parallel lines appear to remain parallel to each other as they extend to infinity. (Parallel projction is of limited usefulness in three-dimensional visualization, but can be used to “line up” cells or vectors.)
To switch projection mode, Click the Action menu, select Set Projection To, and then select either Perspective or Parallel.
Note
Zooming is not synchronized between perspective and parallel projection modes. The amount of zooming in one projection mode is independent of the amount of zooming in the other projection mode.
Saving and Restoring a Viewpoint
Click the Action menu and select Save Viewpoint.
To restore a previously saved viewpoint, click the Action menu and select Restore Saved Viewpoint.
Note
The viewpoint is saved in memory but not on file. The saved viewpoint is discarded when the program exits.